Printing Functional Objects with the Form 1
The idea of starting with a digital model of a 3D object and having a physical representation in your hands a few hours later is certainly kind of magical. I remember when my department at UW got its first 3D printer (which cost about as much as a nice car and was the size of a refrigerator) I spent hours staring through its window, watching it build up objects a layer at a time. Amazingly, just a few years later, there are now several desktop-sized printers available at a fraction of the cost. With the recent availability of these “personal” 3D printers, it’s been interesting to see the resulting models that people have printed. I’ve yet to see one that doesn’t have a few chess pieces and an Eiffel Tower or two sitting next to it, showing off its capabilities.
While these intricate models are definitely cool, 3D printing isn’t just about models that look nice. To me, the real value of 3D printing is being able to print out physical models that are functional, that wouldn’t otherwise be easy to obtain. I’ve recently been working with the Form 1, which is a recent desktop-sized 3D printer capable of some pretty impressive prints. While I’ve certainly printed a few things that are just for looking at, I’ve also been using it to make functional objects. And so far, I’ve been pretty happy.
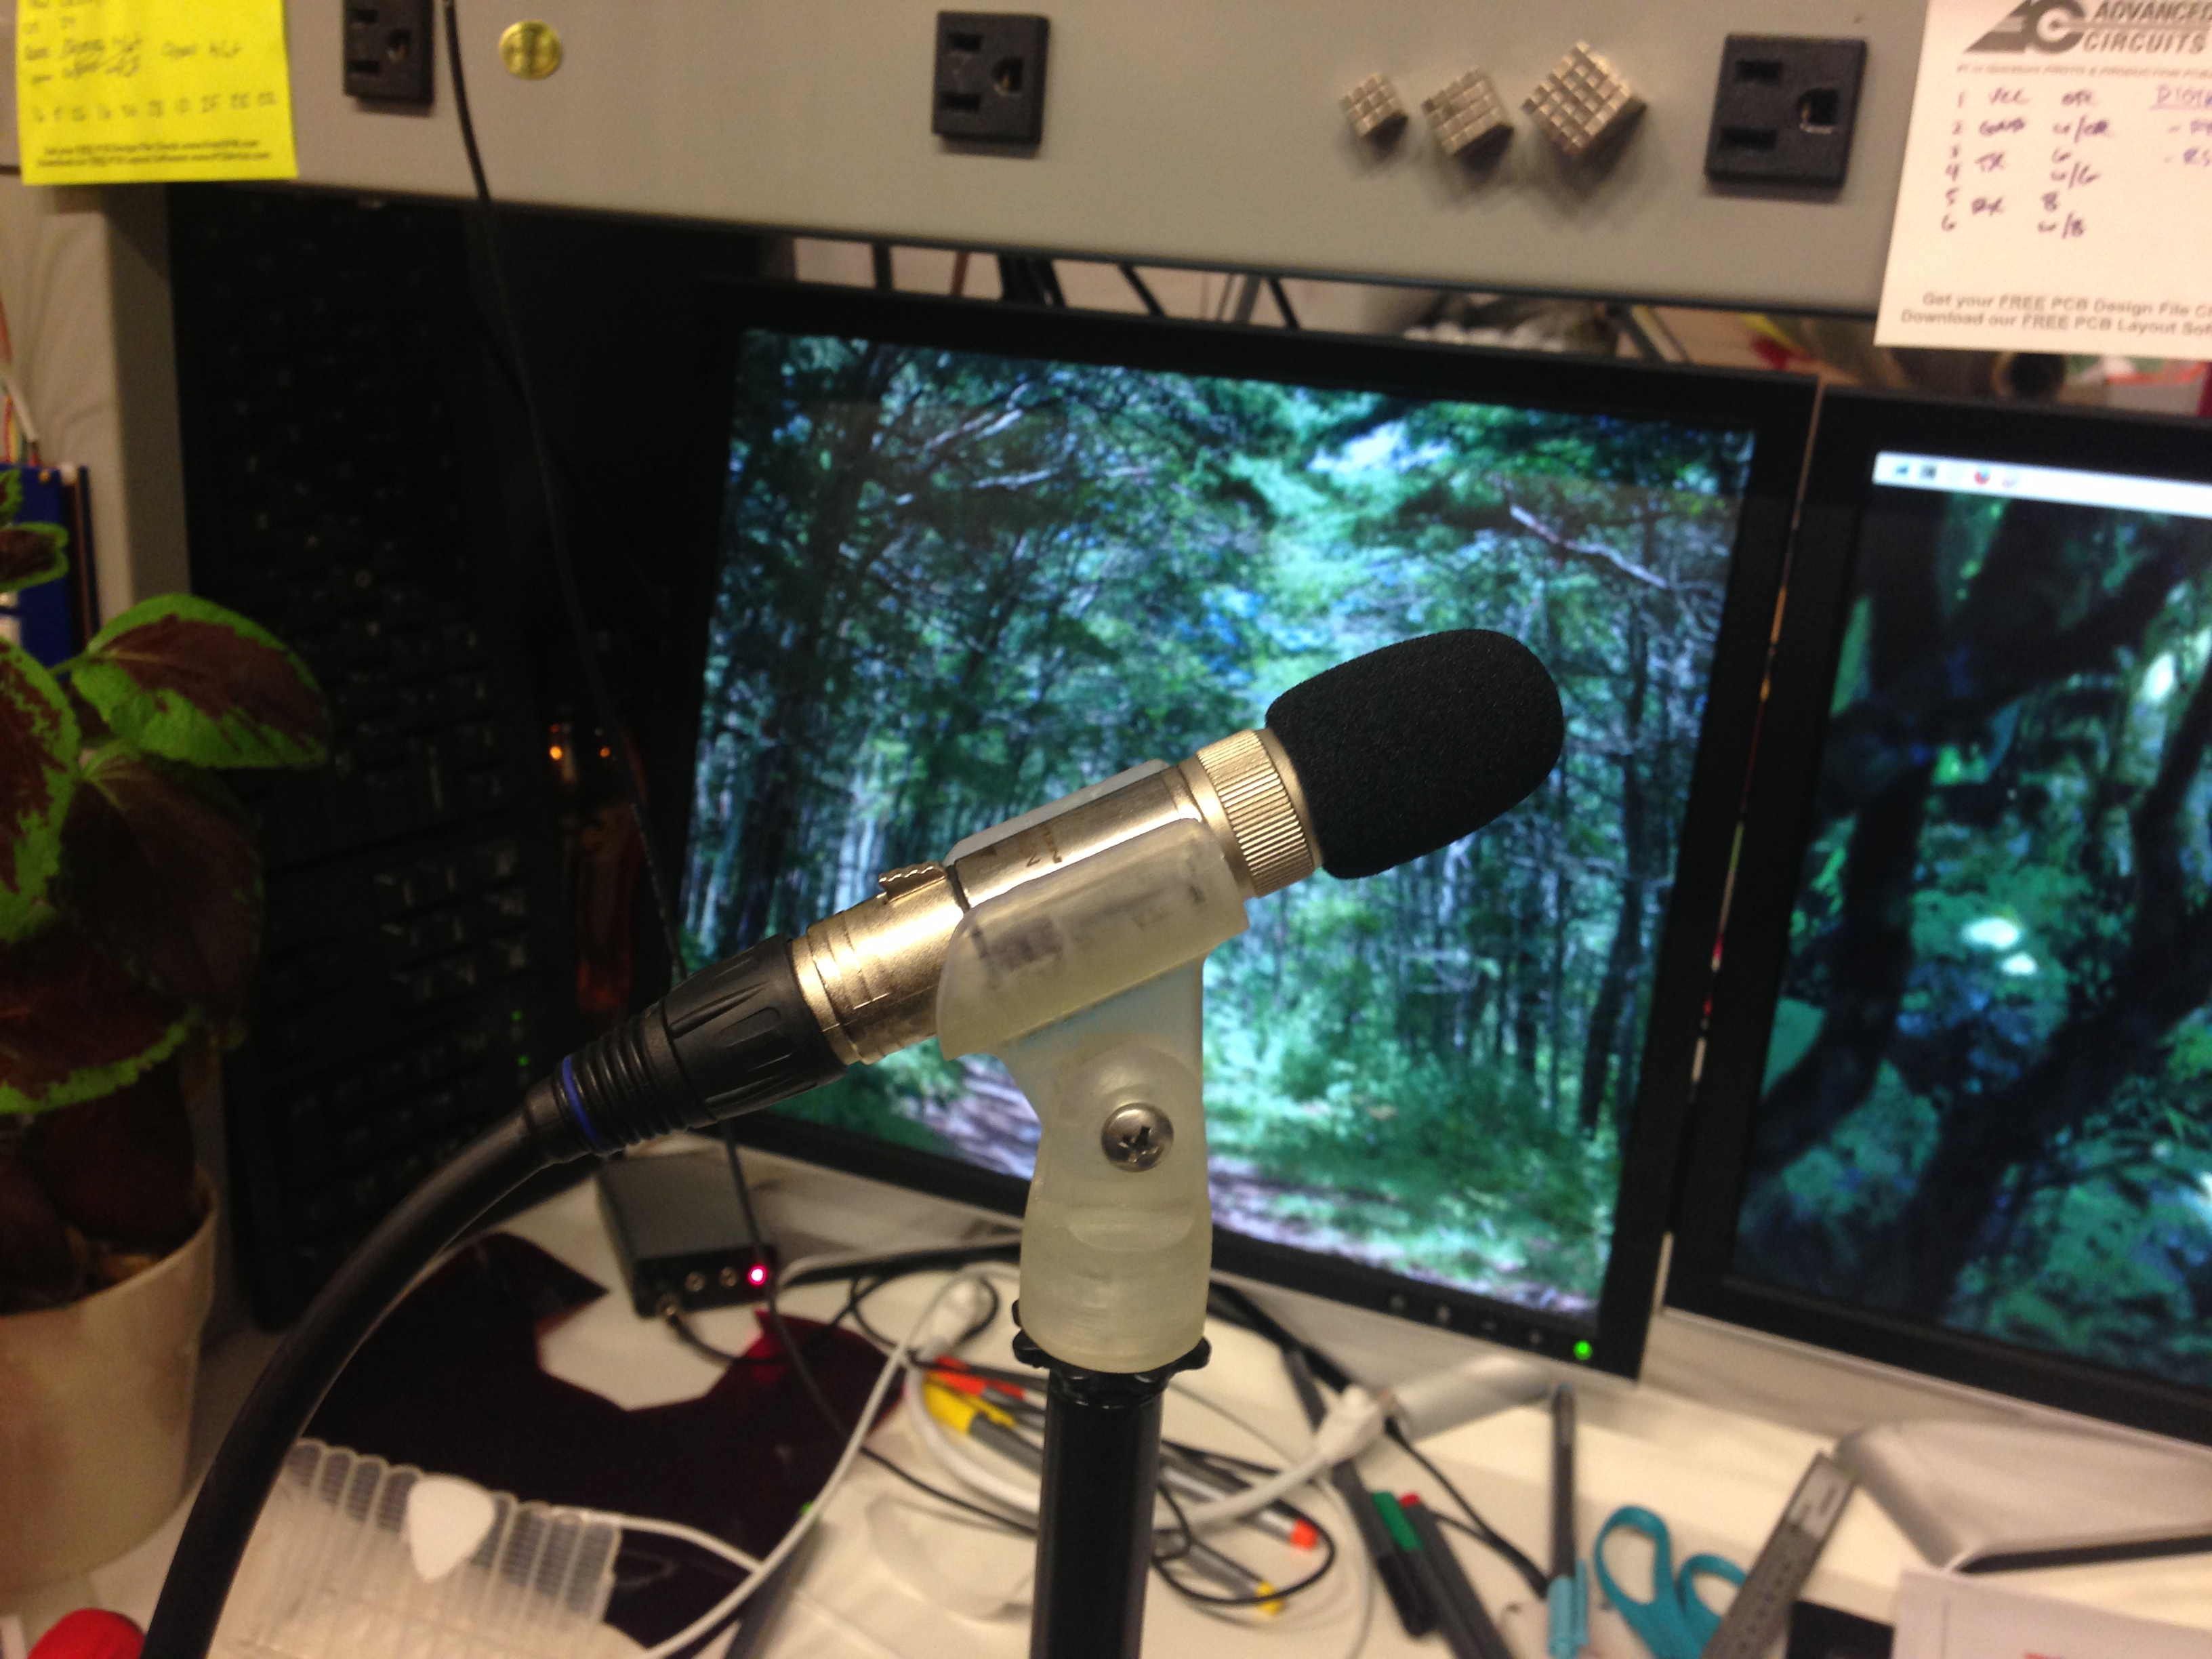
One of the models I’ve printed is a custom microphone clip (pictured above.) I’ve recently gotten into building custom microphones (which I’ll write more about in a later article) starting with some that are fairly unique. One of my current research projects involves audio recording and streaming at an outdoor site (you can listen in live, here). I needed some microphones that were relatively inexpensive, sensitive enough to pick up quiet sounds, and wouldn’t get destroyed after months of being exposed to the elements. I’ve arrived at the design you see above, which packs a nice electret microphone capsule and the circuitry for it into a weather-resistant XLR connector (what you’d normally find at the end of a microphone cable.) They’ve been working great outdoors, where they are hanging from trees and tied to shrubs.
It turns out that they actually make great omnidirectional microphones for more traditional recording applications, too. But few pianos that I’ve encountered have convenient overhanging tree branches to tie the microphones to. So, they need to go on stands, and for that, I need microphone clips. And these microphones are too small to work in most standard microphone clips. And, if you go to buy microphone clips, you discover that clips are either sold for specific microphones (which are generally overpriced—I guess the manufacturers figure that if you’re spending $1000 on a microphone you’re willing to pay $40 for a piece of plastic that holds it) or they’re sold as “universal,” which basically means that it fits any microphone as long as it’s an SM-58.

So, faced with either expensive clips that might or might not fit my microphones, or cheap universal ones that almost certainly would be too loose, I fired up my CAD software and sketched one out. It’s two pieces—the base that screws onto the stand (including 3D printed threads—US microphone stands use really weird 5/8″-27 threads) and the clip that holds the microphone itself. The two parts fasten together with a bolt & nut, which, when tightened down loosely, creates a friction hinge allowing the angle of the microphone to be adjusted.

I haven’t quite figured out how to do the supports for the base. I’ve actually had best results printing the base without supports (it’s a little bit of a challenge to get it off of the build platform, but it keeps the surface finish on the outside nice. I’d love to support it from the bottom, but the current PreForm software really wants to put supports inside that get just a little bit too close to the threads (one of my earlier prints has a support that fused into the threads.)
Overall, it turned out great! For a few dollars in material, I have some perfectly functional mic clips, with working threads and everything. (The threads did require some careful cleaning with tweezers after the print finished to remove a little bit of gunk.) The material actually has just the right amount of flex in it that the microphone snaps in and out of the clip easily but stays put when it’s in the clip. The pair I made worked great for recording inside of a piano!
This is the stuff that I think is really cool about desktop 3D printing. In a couple of hours I was able to draw up and have in my hands an accessory that works perfectly with a device that I built—something that I really can’t just go on Amazon and buy.