Since this project involves a bunch of digital audio stuff that some of my
readers might not be familiar with, I’ll start by describing my motivation for
the project and some of the background information about the protocols and
hardware involved. If you’re already familiar with this stuff and just want to
see the hack, jump to the next section.
I have a somewhat unusual audio setup at home. I use a
DAW (digital audio workstation) software on my
desktop computer as a digital mixer for all of the sound coming from it. Using
JACK on Linux, I route the output of each program to a different mixer channel,
so in addition to having different volume settings for each program, I can
apply effects as well (such as equalization or applying a little bit of
compression when watching a movie late at night, so the loud parts aren’t quite
so loud.) I can then route the audio between multiple outputs, primarily my
studio monitors and my headphone amplifier.
The sound card I use is an RME Digi9652. These are older PCI cards, which are
now inexpensively available second-hand since newer computers have mostly PCI-e
slots instead. But, the card still works on my motherboard, has great Linux
support, and provides 26 inputs and 26 outputs with very low latency. Like
many multichannel audio cards, all of the I/O is digital. The 9652 has three
pairs of ADAT Lightpipe ports and one pair of coaxial S/PDIF connectors. In
order to get analog audio in and out, it requires the use of external
converters connected to the ADAT ports.
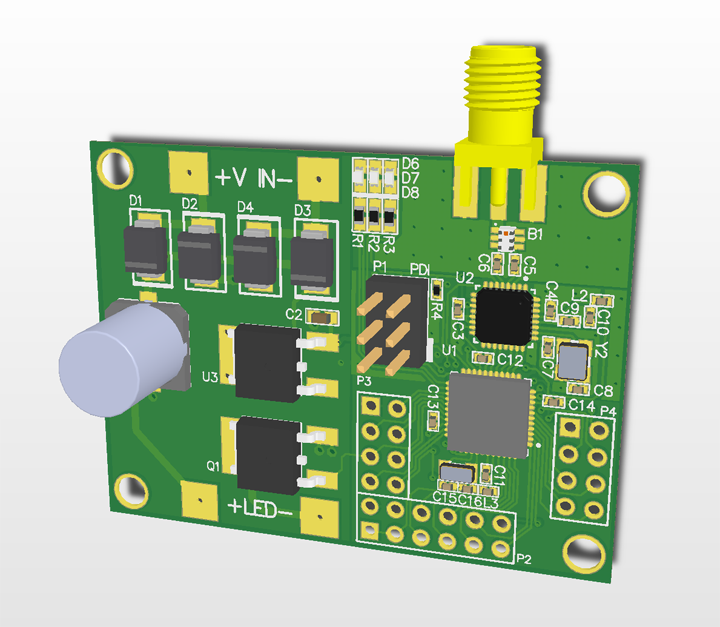
I designed these boards to be integrated into 12VDC track lighting fixtures
with MR16 LED lamps in the Media Lab atrium. They are based on the Atmel XMega
A4 series (originally designed for the ATxmega32A4 and that’s what’s in the
atrium lighting installation, but forwards-compatible with the A4U series
chips; most of my current uses for this board use the ATxmega128A4U) and the
AT86RF231 radio (though the RF230 and newer variants like the RF233 should also
be usable.)
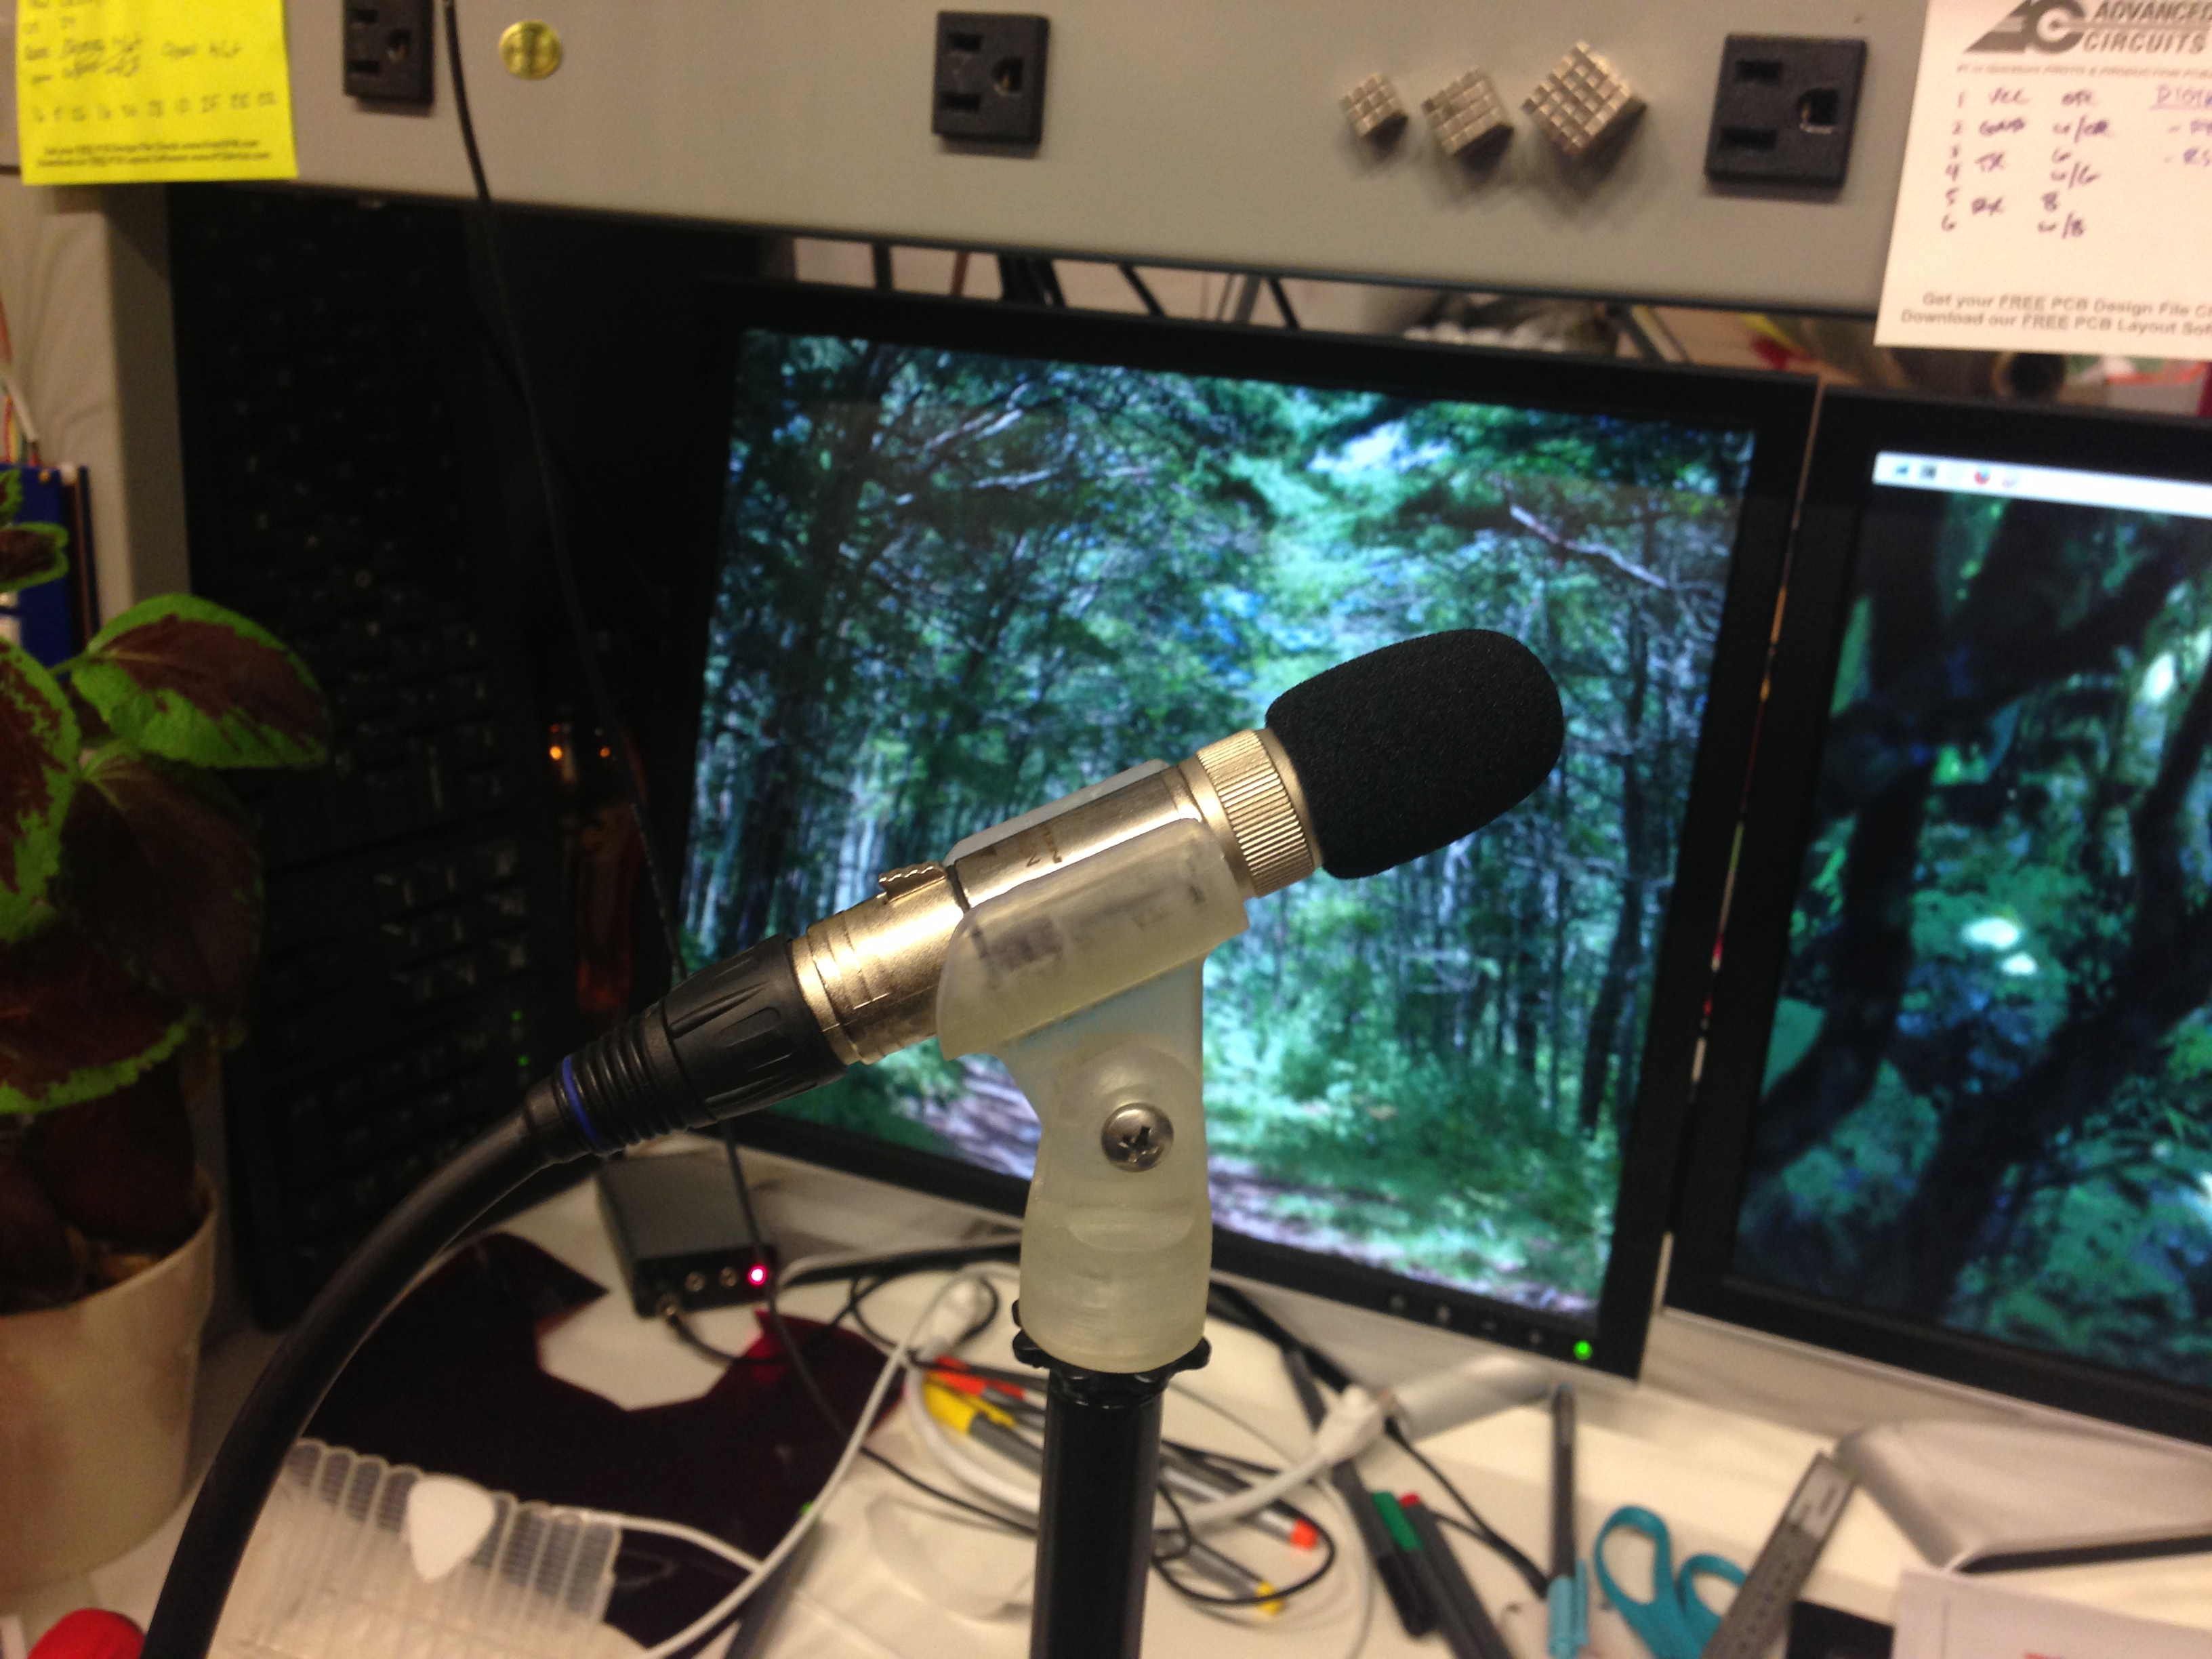
3D-printed microphone clip and custom-built microphone. Please
excuse the messy desk in the background.
The idea of starting with a digital model of a 3D object and having a physical
representation in your hands a few hours later is certainly kind of magical. I
remember when my department at UW got its first 3D printer (which cost about as
much as a nice car and was the size of a refrigerator) I spent hours staring
through its window, watching it build up objects a layer at a time. Amazingly,
just a few years later, there are now several desktop-sized printers available
at a fraction of the cost. With the recent availability of these “personal” 3D
printers, it’s been interesting to see the resulting models that people have
printed. I’ve yet to see one that doesn’t have a few chess pieces and an
Eiffel Tower or two sitting next to it, showing off its capabilities.
While these intricate models are definitely cool, 3D printing isn’t just about
models that look nice. To me, the real value of 3D printing is being able to
print out physical models that are functional, that wouldn’t otherwise be easy
to obtain. I’ve recently been working with the Form 1, which is a recent
desktop-sized 3D printer capable of some pretty impressive prints. While I’ve
certainly printed a few things that are just for looking at, I’ve also been
using it to make functional objects. And so far, I’ve been pretty happy.